How to Upload Your Song to Spotify The Right Way
- Oct 10, 2025
- 14 min read
Before you can even think about how to upload your song to Spotify, you need to get your house in order. That means nailing two critical pieces: your high-resolution audio file and your professional, eye-catching album artwork. Getting these right from the jump is the first, most important step to a smooth release.
Your Essential Pre-Upload Checklist
The buzz of a new release is real, but rushing the process without solid prep can lead to frustrating delays and a pretty weak first impression. Before you start shopping for a distributor, you have to treat your release like a complete package. The two non-negotiables? Your audio master and your cover art.
Getting these elements right isn't just about checking off boxes on a list. It’s about presenting your music in the absolute best light and showing respect for the listener's experience. Spotify and other streaming platforms have strict quality standards for a reason—they want a consistent, high-quality experience for everyone. If you miss the mark, your distributor will likely reject your files, forcing you to start over and potentially blow your release date.
Mastering Your Audio File for Streaming
First things first, let's talk audio. The file you upload has to be in a high-quality, lossless format. This is not the place to cut corners.
File Format: Always, always export your final master as a WAV or FLAC file. These formats keep all the original audio data intact, unlike compressed MP3s that toss out quality to save space.
Bit Depth and Sample Rate: You’ll want to aim for a bit depth of 16-bit or 24-bit and a sample rate of 44.1 kHz. This is the standard for CD quality and it's exactly what Spotify wants for its own encoding process.
If you submit a low-quality MP3, your track is going to sound noticeably worse after Spotify runs its own compression on it. You need to give their system the best possible source file to work with so your creative vision actually makes it to the listener's ears.
Designing Compelling Album Artwork
Your cover art is your digital handshake. It’s often the very first thing a potential listener sees, so it needs to grab their attention while also meeting all the technical specs.
A great cover can make someone stop scrolling and give your track a chance. It’s your visual handshake, so make it count. Don't treat it as an afterthought; invest time or resources into creating something that truly represents your sound and brand.
This infographic breaks down the core requirements for your audio and visual assets before you even think about uploading.
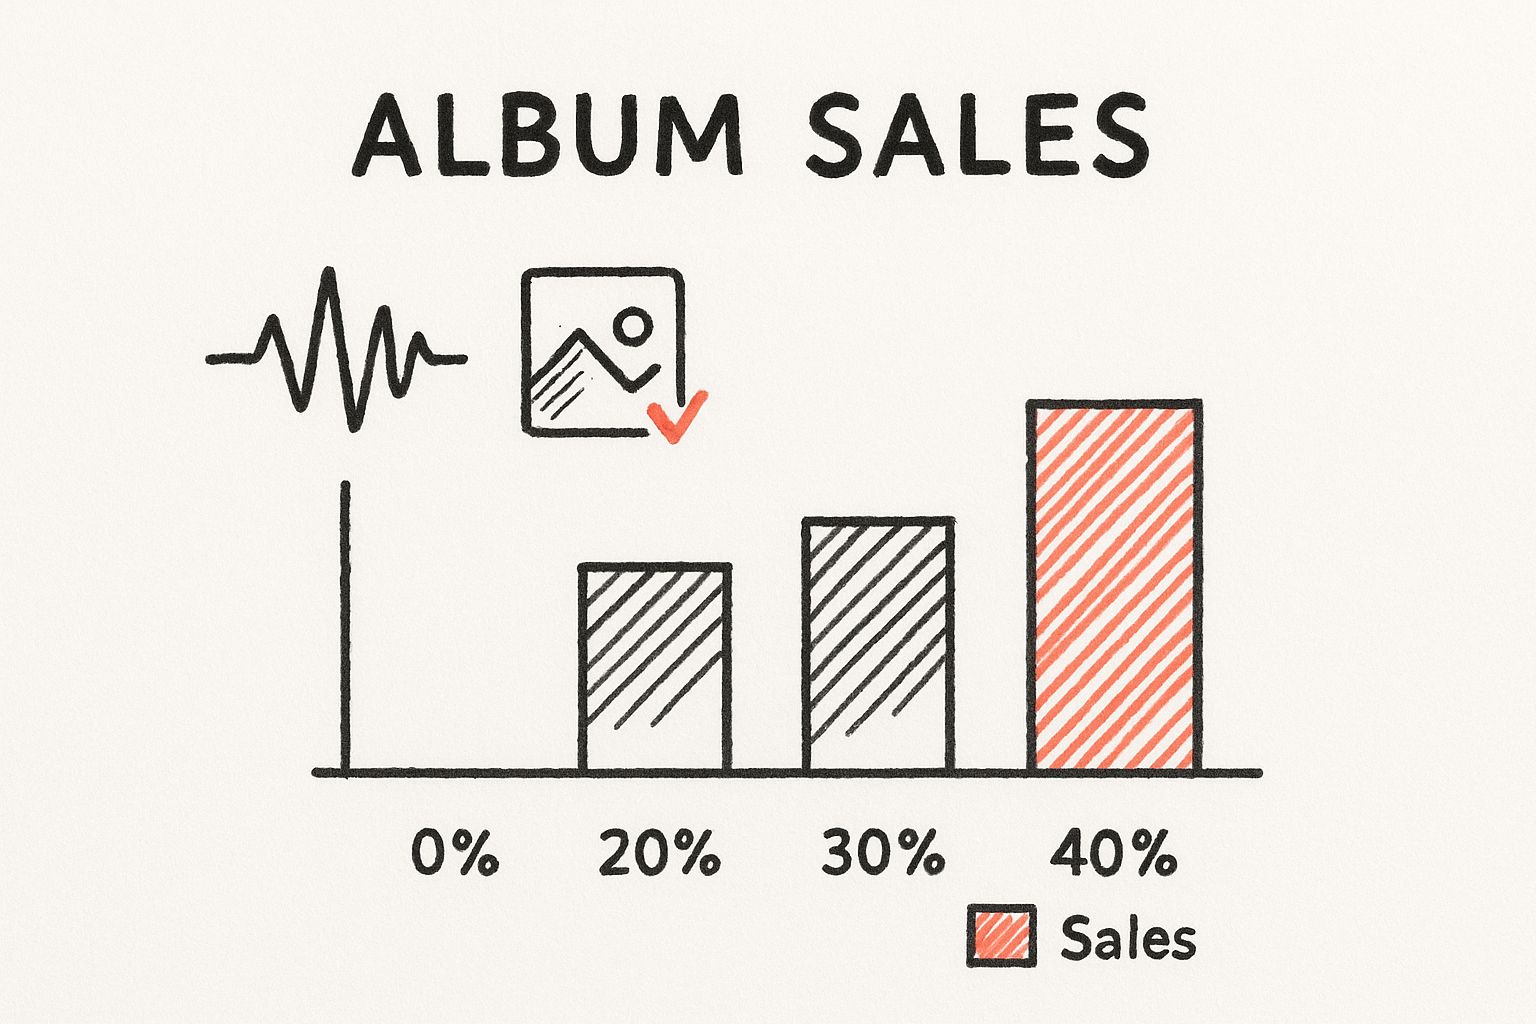
As you can see, both the audio waveform and the artwork are equally crucial parts of the puzzle for a complete release package.
Here are the specific artwork requirements Spotify lays out:
File Format: Your art needs to be a JPEG or PNG file.
Aspect Ratio: It must be a perfect 1:1 square. No rectangles allowed.
Resolution: The absolute minimum is 640x640 pixels, but I strongly recommend uploading at least 3000x3000 pixels. This ensures your art looks crisp and clean on every possible screen, from a phone to a TV.
Color Profile: Stick to the RGB color space. This is the standard for all digital screens.
And while you're at it, seriously consider adding a Spotify Canvas—that’s the short, looping video that plays on the "Now Playing" screen. It can make a huge difference in engagement. To get the full rundown, check out our guide on [Spotify Canvas specifications](https://www.artist.tools/post/spotify-canvas-specifications-a-complete-guide).
By nailing both your audio and your artwork, you’re building a professional foundation for a successful launch.
Choosing the Right Music Distributor for You
So you've finished your masterpiece. Now, how do you get it from your hard drive onto Spotify? You can't just upload it directly. This is where a music distributor comes in—they’re the essential bridge between your finished track and all the major streaming platforms.
Think of them as the logistics backbone for your music. They don’t just send your song to Spotify; they deliver it to Apple Music, Amazon Music, TikTok, and dozens of other places people discover new music.
This partnership is one of the most critical decisions you'll make as an independent artist. With Spotify now hosting over 100 million songs and seeing around 1.8 million new tracks uploaded every month, just getting your music online isn't enough. You need a reliable partner to handle your digital assets, collect your royalties, and give you the tools to manage your releases effectively. Learn more about Spotify's massive growth and artist payouts.
Understanding Distributor Fee Structures
Music distributors generally use a few different business models, and the "best" one really just depends on your specific release strategy and budget. There's no one-size-fits-all answer here.
The most common models you'll run into are:
Annual Subscription Fees: Services like DistroKid charge a yearly fee that lets you upload as much music as you want. This is a fantastic deal for prolific artists—if you’re dropping multiple singles, an EP, and an album in one year, your cost is fixed.
One-Time Fees: Distributors like CD Baby typically charge a one-time fee per single or album. This can be more budget-friendly if you release music less often, maybe just one big project every couple of years. You pay once, and your music stays on the platforms forever.
Commission-Based (Royalty Splits): Some distributors will upload your music for "free," but in return, they take a percentage of your royalties—usually around 15%. This is a great starting point if you have zero upfront cash, but keep in mind that this commission can add up fast if your song starts getting serious traction.
Each model has its trade-offs. If you’re planning a waterfall release with a new single every month, a subscription is almost certainly the way to go. For a deeper dive, check out our [guide to music distribution deals for artists](https://www.artist.tools/post/a-guide-to-music-distribution-deals-for-artists).
Comparing Top Music Distributors for Spotify
Choosing a distributor can feel overwhelming with all the options out there. To simplify things, we've put together a side-by-side comparison of some of the most popular choices, breaking down their pricing, royalty splits, and standout features.
Distributor | Pricing Model | Royalty Split | Key Features |
|---|---|---|---|
DistroKid | Annual Subscription (starts at ~$22.99/year) | Artist keeps 100% | Unlimited uploads, fast delivery, automatic revenue splits. |
TuneCore | Annual Fee Per Release (starts at ~$14.99/single) | Artist keeps 100% | Advanced analytics, publishing administration add-on. |
CD Baby | One-Time Fee (starts at ~$9.99/single) | Artist keeps 91% | Physical distribution (CDs/vinyl), sync licensing. |
Amuse | Free & Subscription Tiers | Artist keeps 100% (Free tier has a 15% split) | Free distribution option, offers artist advances. |
Ditto Music | Annual Subscription (starts at ~$19/year) | Artist keeps 100% | Unlimited uploads, chart registration, promo tools. |
This table should give you a solid starting point. Remember to visit each distributor's site to get the most up-to-date details, as plans and features can change. Your goal is to find a partner that aligns with both your budget and your long-term career ambitions.
Beyond Basic Delivery What to Look For
While getting your music onto Spotify is priority number one, the best distributors offer a lot more than just delivery. These extra features can be absolute game-changers for managing your career and maximizing your income.
Your distributor is more than just a delivery service; they are your financial backend. They collect royalties from hundreds of sources worldwide and ensure that money finds its way to you. Choosing a reputable partner with transparent reporting is non-negotiable.
When you're comparing options, look for a distributor that provides:
Comprehensive Royalty Collection: This means they're not just grabbing your Spotify money but also collecting mechanical royalties from streams and sales across every platform, everywhere.
Detailed Analytics: A good distributor gives you a dashboard with real data on your streams, downloads, and who your listeners are. This info is gold.
Marketing Tools: Some distributors offer built-in tools like pre-save campaign builders, promo art generators, and even help with playlist pitching.
Customer Support: When something inevitably goes wrong—a release is delayed, or a payment is missing—you need to know you can reach a real human who can actually help.
By weighing these features against the different pricing models, you can find a distributor that doesn't just get your song on Spotify but actually helps you build a sustainable career as an artist.
Navigating the Upload and Mastering Your Metadata
Alright, you've picked your distributor and have your high-quality audio files ready to go. Now for the main event. Logging into your distributor’s dashboard for the first time—whether it’s DistroKid, TuneCore, or another service—can feel a bit like stepping into a cockpit. You're hit with a wall of fields, buttons, and acronyms. Don't sweat it. While the layouts differ slightly, the core information they all need is pretty much universal.
This whole stage is about feeding the machine the right data. This data is called metadata, and it’s basically the digital DNA for your song. It’s what tells Spotify who made the music, who owns the rights, and—most importantly—who gets paid when someone hits play. Getting this wrong can cause massive headaches later, from a delayed release to royalties going missing.
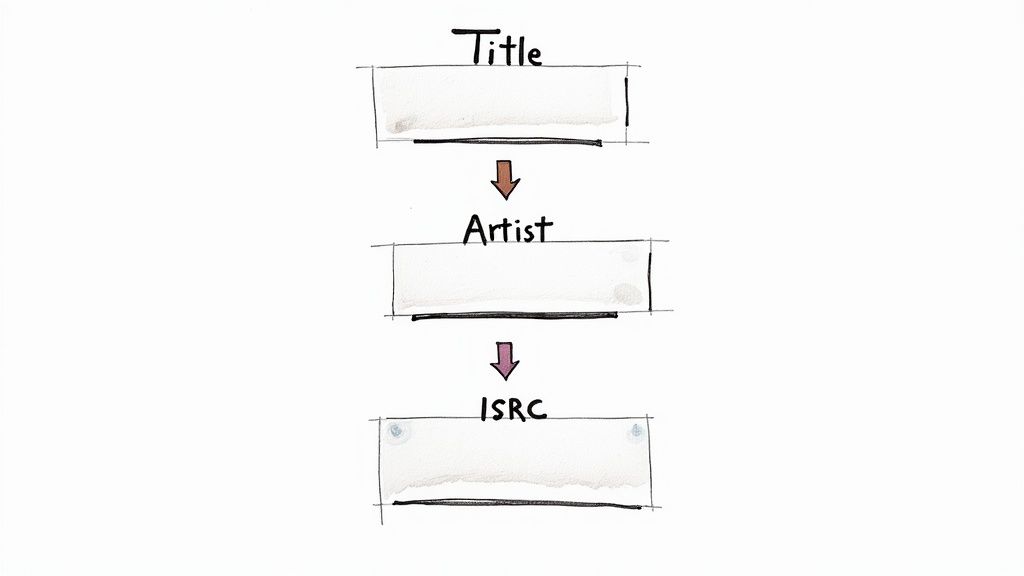
The Core Details of Your Release
First up, the initial upload form will ask for the basics. This part seems straightforward, but it demands absolute precision. A single typo in your artist name can send your track into a digital black hole, making it nearly impossible for anyone to find.
Always, and I mean always, double-check these key fields:
Artist Name(s): Is the spelling identical to your existing profiles? If you have collaborators, this is where you’ll add them.
Song Title: Capitalize it correctly. Don't add extra fluff like "(Official Audio)"—that's what the video title is for on YouTube, not here.
Release Date: This one is critical. As we’ll get into later, you need to set this at least 3-4 weeks into the future. No exceptions.
Genre and Subgenre: Be honest and specific. This is a major clue for Spotify’s algorithm on who to show your music to.
Explicit Content: If your track has profanity, mark it as explicit. If you don't and they catch it, your release can get flagged and even pulled down.
Think of this initial info as the cover of your book. It has to be perfect.
Demystifying ISRC and UPC Codes
As you click through the forms, you'll bump into two important acronyms: ISRC and UPC. These are essentially the digital barcodes for your music, making sure every single stream is tracked and counted.
Your metadata isn't just admin paperwork; it's the very foundation that ensures you get paid correctly. The ISRC code is the unique fingerprint for your specific recording, while the UPC identifies the entire product, like a single or an album.
Here’s a quick breakdown:
ISRC (International Standard Recording Code): This is a unique 12-character code that gets assigned to one specific master recording. If you have an album version, a radio edit, and an acoustic take, each one gets its own ISRC.
UPC (Universal Product Code): This is a 12-digit code that identifies the whole release package. So if you're dropping a 3-song single, all three tracks will live under one UPC but will each have their own individual ISRCs.
The good news? You don’t need to go hunting for these. Nearly every modern distributor will generate these codes for you automatically and for free during the upload process. Just look for a button that says something like "Generate a code for me" and click it.
Songwriter and Publisher Information
Finally, you’ll hit the section for songwriter and publishing credits. This is where you officially declare who wrote the song's music and lyrics. Do not skip this. Providing accurate songwriter info is legally required and is absolutely essential for collecting all the royalties you're owed—specifically publishing royalties.
Even if you’re a solo artist who wrote everything, you still have to fill this out. List your full legal name as the songwriter. If you don't have a publisher, you can usually leave that field blank or just say you're self-published. Being meticulous here is your best defense against royalty disputes down the line.
Setting Your Release Date and Claiming Your Artist Profile
Let's talk about timing. It’s everything. One of the biggest mistakes I see artists make is uploading their tracks and setting the release date for "as soon as possible." I get it, the excitement is real, but hitting publish right away is like sprinting the first ten feet of a marathon. You completely miss out on the chance to build real momentum and use Spotify’s best promotional tools.
Think of your release date less like a finish line and more like a strategic launch point. You need to schedule your release for at least three to four weeks out. This isn't just dead time for your distributor to process everything; this is your golden window to set your song up for success.
Why the long wait? It all boils down to one critical thing: pitching your song to Spotify’s editorial playlists. These are the big leagues—playlists curated by actual people at Spotify that can get your music in front of millions of new listeners overnight. But here's the catch: you can only submit your track for consideration before it's released, and that all happens inside your Spotify for Artists profile.
Claiming Your Spotify for Artists Account
As soon as your distributor confirms your music has been delivered to Spotify—even if the release is weeks away—your next move is to claim your artist profile. This isn't optional; it's like getting the keys to your own house. Your Spotify for Artists account is a free, absolutely essential hub for managing your entire presence on the platform.
To get the ball rolling, you’ll need your song’s URI code, which you can get from your distributor. Head over to the Spotify for Artists website and start the verification process.
Claiming your profile transforms you from just a name on a tracklist into the active manager of your career on Spotify. It's the difference between having a song on Spotify and truly using Spotify to build an audience.
Once you’re in, you unlock a whole suite of powerful features.
Playlist Pitching: This is the big one. It’s your direct line to Spotify's editorial team, letting you submit one unreleased track with all the important details—genre, mood, instrumentation, and even your marketing plans.
Real-Time Analytics: You get to see exactly who is listening, where they are in the world, and how they found you. This data is pure gold for figuring out your fanbase.
Profile Customization: This is where you bring your brand to life. You can write a bio, upload new photos, link your socials, and pin an "Artist Pick" to highlight a specific track or playlist at the very top of your page.
Getting access to these tools is a total game-changer. For a deeper dive into everything you can do, check out our post on the [7 essential tools in Spotify for Artists](https://www.artist.tools/post/spotify-for-artists-7-essential-tools). By scheduling your release with plenty of lead time and getting your profile claimed, you’re not just releasing a song; you’re executing a strategic launch designed to maximize its shot at getting discovered.
Alright, your track is locked, loaded, and scheduled to hit Spotify. That's a huge step, so take a second to celebrate. But don't get too comfortable—in the world of streaming, the upload is just the starting line, not the finish.
If you just hit "submit" and hope for the best, you're pretty much guaranteeing your track gets lost in the sea of 120,000+ songs uploaded every single day. Your promotional game is what separates a simple upload from a launch that actually makes waves.
This is where the real work kicks in. The mission is to build a wave of excitement that crests on release day and keeps the momentum going for weeks. It’s about turning people who might passively hear your song into active fans—the kind who stream it, share it, save it, and smash that "add to playlist" button.
Build Anticipation with a Pre-Save Campaign
Before your song is even out, one of the most powerful moves you can make is setting up a pre-save link. Most distributors have a tool for this, but third-party services work great too. A pre-save lets your fans save the track to their library ahead of time, so it pops up for them the second it goes live.
This is a killer strategy for two big reasons:
It manufactures a spike in streams and saves on day one, which is a massive green flag for Spotify's algorithm.
It often lets you collect valuable info, like fan email addresses, that you can use for future marketing.
Start pushing your pre-save link everywhere about two weeks out from the release. Drop it on all your socials, blast it to your email list, and make it the link in your bio. Be direct—tell your fans what it is and why clicking that button is a huge help for you as an artist.
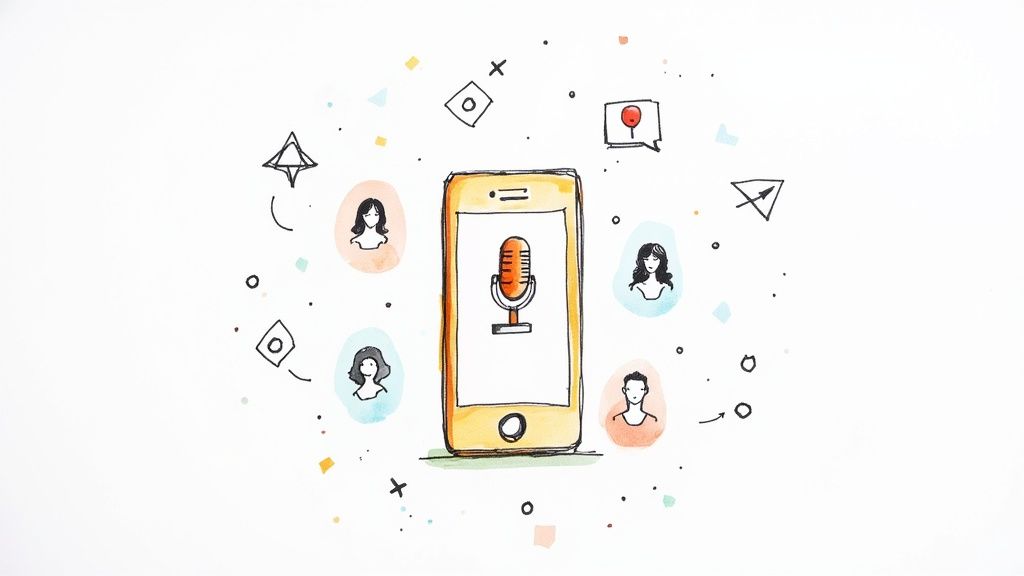
Get Your Audience Hyped on Social Media
The people already following you are your ground zero. Your job is to make them just as stoked for this release as you are. A single "new song out Friday" post isn't going to cut it. You need a real content plan.
Your release isn't a single event; it's a campaign. Treat it like one. Every post, story, and interaction is a chance to remind people that something special is coming and invite them to be a part of it.
Get creative. Share some behind-the-scenes clips from the studio, drop a few lines of the lyrics, or run a poll asking followers to guess the cover art. When release day hits, go live on Instagram, share every fan post you see, and reply to as many comments as you possibly can. That kind of direct engagement is what builds a real, loyal community around your music.
Pitch to Independent Playlists and Blogs
Getting on a big Spotify editorial playlist is the dream, for sure. But don't sleep on the power of independent curators. These are the bloggers, influencers, and die-hard music fans running their own playlists with dedicated, niche followings. A few placements on the right indie playlists can drive a surprising amount of targeted streams.
Let's be real, the competition is fierce. In a recent year, around 12 million artists uploaded music, but less than 0.6% of them earned over $10,000. That stat should tell you everything you need to know: just uploading isn't enough. You can see more on artist earnings on musicbusinessworldwide.com.
Start digging for playlists that feature artists with a similar vibe to yours. Hunt down their contact info or submission forms and send a polite, personalized pitch. Keep it short: introduce yourself, describe your track's sound, and explain why it's a perfect match for their specific playlist. A thoughtful email to the right person is worth a hundred generic blasts to random curators. This is how you turn a simple upload into a real discovery campaign.
A Few Common Questions About Getting on Spotify
If you're new to the world of digital distribution, you probably have a lot of questions swimming around. Getting some straight answers is the first step to building a release plan you can actually feel good about.
Let's cut through the noise and tackle some of the most common things artists ask when they're figuring out how to get their music on Spotify.
How Much Does It Really Cost to Upload a Song to Spotify?
First things first: you can't just upload a track to Spotify yourself for free. You have to go through a music distributor, and they all have different ways of charging for their service. There's no one-size-fits-all price, but most models fall into one of these buckets:
Annual Fees: This is probably the most common setup. Services like DistroKid will charge you a flat yearly fee—often starting around $20-$35—and you can upload as much music as you want. If you're planning on releasing tracks consistently, this is a no-brainer.
Per-Release Fees: Other distributors, like TuneCore, operate on a pay-per-release model. You'll pay a fee for every single or album you put out. This can be a smarter move if you only drop new music once or twice a year.
Commission-Based: Some distributors offer a "free" upload option, but the catch is they take a cut of your royalties. This commission is usually between 15-20%. It's a great way to get your music out there with zero upfront cost, but if your song starts to take off, that percentage can really add up.
How Long Does It Take for a Song to Show Up on Spotify?
Once you’ve submitted everything to your distributor, your track will typically go live on Spotify within 2-10 business days. But—and this is a big but—you should never wait until the last minute.
Plan on submitting your music at least 3-4 weeks before your release date. That buffer is absolutely essential. It’s not just about processing time; it gives you the window you need to pitch your track to Spotify's official playlists through your Spotify for Artists account. Don't skip this step.
Can I Change My Song After It’s Already Up?
This one trips up a lot of artists. The short answer is yes and no. You can usually fix metadata like your song title, artist name, or even swap out the artwork through your distributor. Those changes might take a few days to reflect on Spotify, but it's doable.
The one thing you cannot change is the actual audio file. Once a track is live, the master is locked in. If you want to release a new version—say, a remaster or an extended cut—you have to upload it as a completely new release with a fresh ISRC code.
So, listen to your final mix on every device you can find. Then listen to it again. Triple-check that audio file before you hit upload, because you only get one shot.
At artist.tools, we build the tools you need to turn a simple Spotify release into a full-blown growth campaign. From tracking your real-time streams to finding the right playlists to pitch, our platform is designed for the modern artist. Take control of your music career today at https://artist.tools.
.png)
.png)