Spotify Canvas Specifications a Complete Guide
- Windtree Theory
- Sep 5, 2025
- 10 min read
So, you want to get your tracks noticed on Spotify? Let's talk about one of the most powerful visual tools in your arsenal: the Spotify Canvas. This is the short, looping video that replaces your static album art in the "Now Playing" view on the mobile app, and getting it right is a total game-changer.
What Are Spotify Canvas Specifications
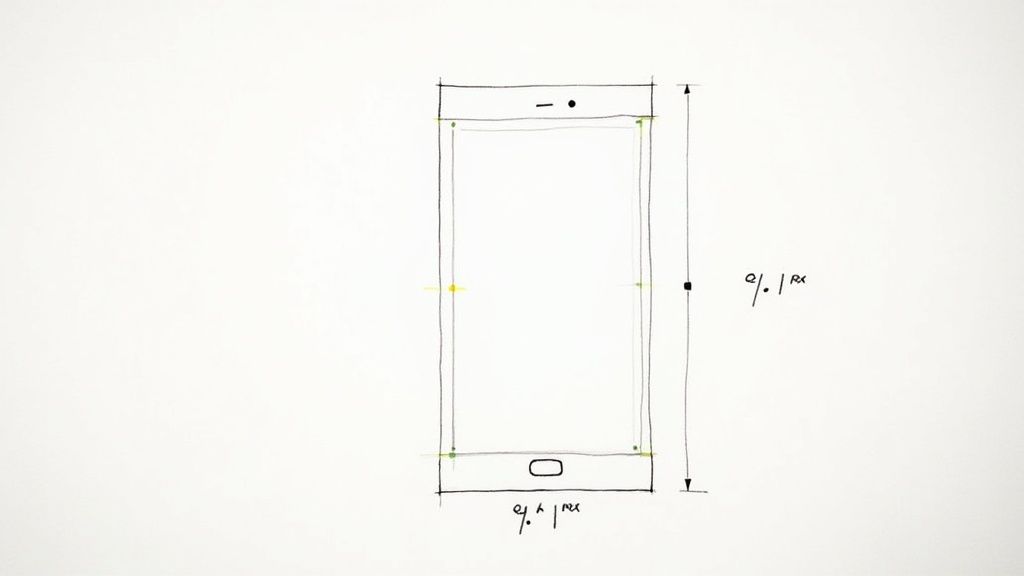
At its core, a Spotify Canvas is a 9:16 vertical video, running anywhere from 3 to 8 seconds long, delivered as an MP4 file. Think of it as your track's visual handshake—a quick, dynamic glimpse into the world of your music.
But nailing these technical specs isn't just about getting your upload approved. It's about creating a seamless, professional experience for your listeners. A perfectly formatted Canvas looks crisp, loops flawlessly, and pulls people deeper into your song without being a distraction. In fact, Spotify’s own data shows that a great Canvas can seriously boost engagement.
Why should you bother? Here’s what a solid Canvas can do for you:
Boost Track Shares: An eye-catching visual gives fans something cool to share on their social stories.
Drive Playlist Adds: A memorable Canvas can be the final nudge someone needs to add your song to their own playlist.
Increase Profile Visits: A compelling visual makes people curious. They see the Canvas, love the vibe, and click through to see what else you've got.
This guide is your go-to reference for all the rules, both technical and creative. Once you master the fundamental Spotify Canvas specifications—from the aspect ratio and length to the file format—you'll be ready to create visuals that not only get approved but also capture your audience's attention. Let's break down exactly what you need to know.
Spotify Canvas Technical Specifications at a Glance
Before we dive deep, here's a quick cheat sheet with the absolute must-know technical details. Getting these right from the start will save you a ton of headaches later.
Specification | Requirement | Key Detail |
|---|---|---|
Aspect Ratio | 9:16 (Vertical) | This is the standard smartphone screen format. No exceptions. |
Length | 3 to 8 seconds | The video must be within this exact duration. |
File Format | MP4 | Currently, this is the only accepted video file type. |
Resolution | Minimum 720px tall | Taller is better for quality, but this is the baseline. |
Think of this table as your pre-flight checklist. If your video checks all these boxes, you're cleared for takeoff and ready for a successful upload to Spotify.
Understanding Core Technical Requirements
Before you can get your Spotify Canvas approved, you've got to nail the core technical requirements. These aren't just friendly suggestions; they're hard-and-fast rules Spotify enforces to make sure your visuals look great on mobile and don't disrupt the listener's experience. If you miss even one of these specs, you'll get an upload error, so it’s essential to get everything right from the jump.

The foundation of any good Canvas is its basic structure. It all starts with the file type and dimensions, which are specifically designed for the mobile-first world where most people listen to Spotify.
Aspect Ratio and Resolution
First things first: your video has to be in a 9:16 vertical aspect ratio. This is a non-negotiable requirement because it’s meant to fill the entire screen of a smartphone perfectly. If you're familiar with creating Instagram Stories or TikTok videos, you're already on the right track. Anything else, like a square or a wide video, will be rejected outright.
When it comes to resolution, your video needs a minimum height of 720 pixels. While that’s the baseline, I always recommend exporting at a higher quality like 1080p (1080x1920 pixels). This makes sure your visual stays sharp and professional on modern high-res screens, avoiding that grainy or pixelated look nobody wants.
Key Takeaway: The 9:16 ratio is mandatory. Always design and export vertically to avoid an instant rejection. A higher resolution gives your fans a much better viewing experience.
Duration and File Format
The length of your Canvas is just as critical. The sweet spot is anywhere between 3 and 8 seconds long. It's designed to be a short, looping visual hook—not a full-blown music video. If it’s shorter than 3 seconds or a fraction of a second over 8, the upload will fail.
Spotify is also picky about the file format, only accepting MP4 files for Canvas uploads. If you have a video in another format like MOV, GIF, or AVI, you’ll need to convert it to MP4 before you can add it to your Spotify for Artists profile. This makes sense when you consider that a huge chunk of Spotify's user base—over 70% of all streams globally—comes from mobile devices. You can dive deeper into these user trends with the latest Spotify statistics.
Navigating Content Guidelines and Restrictions
Getting the technical specs right for your Spotify Canvas is only half the battle. To actually get your visual approved, you’ll need to play by Spotify’s content rules, which are all about keeping the platform safe and enjoyable for everyone.

These guidelines aren't there to kill your creativity. Think of them as the quality control that maintains a certain standard across the app. If you ignore them, your Canvas will get rejected flat out, so it’s essential to know what’s allowed before you even think about uploading.
Promotional and Text-Based Content
One of the quickest ways to get a rejection is by making your Canvas too promotional. It's meant to be a piece of art that enhances your music, not an ad.
Spotify is very clear about what they don't want to see:
Text and Typography: Steer clear of plastering your artist name, song title, tour dates, or release dates all over the visual. That info is already sitting right there in the Spotify player.
Logos and Branding: Unless it's a core, artistic part of your identity, avoid obvious brand logos or shout-outs to sponsors.
URLs and Calls to Action: Definitely don't include website links, social media handles, or any text like "Follow me" or "Buy my merch."
The idea here is to create a visual vibe that pulls the listener in. Adding a bunch of promotional text just shatters that immersion and makes your track feel like a commercial, which is exactly what Spotify is trying to avoid in this space.
Safety and Accessibility Guidelines
Beyond just keeping things non-promotional, Spotify has some important rules about safety and accessibility. Your visuals need to be appropriate for a wide audience and shouldn't create a negative or harmful experience for anyone.
Important Reminder: Rapidly flashing images or intense strobing effects are a hard no. This is a serious issue for listeners with photosensitivity and can be a really jarring experience for anyone.
Your Canvas is guaranteed to be rejected if it includes any of the following:
Hate speech, harassment, or any kind of discriminatory content.
Graphic violence or anything that glorifies self-harm.
Pornographic or sexually explicit material.
Always aim for visuals that are respectful and inclusive. When you stick to these guidelines, you make sure your Canvas gets approved without a hitch and actually adds to your track, rather than causing problems.
Creative Best Practices for Engaging Canvases
Nailing the technical specs for your Spotify Canvas is really just step one. The real magic happens when you create a visual that actually grabs your audience and pulls them in. A great Canvas does more than just fill space; it adds another layer to your music and turns a passive listen into a full-on experience.

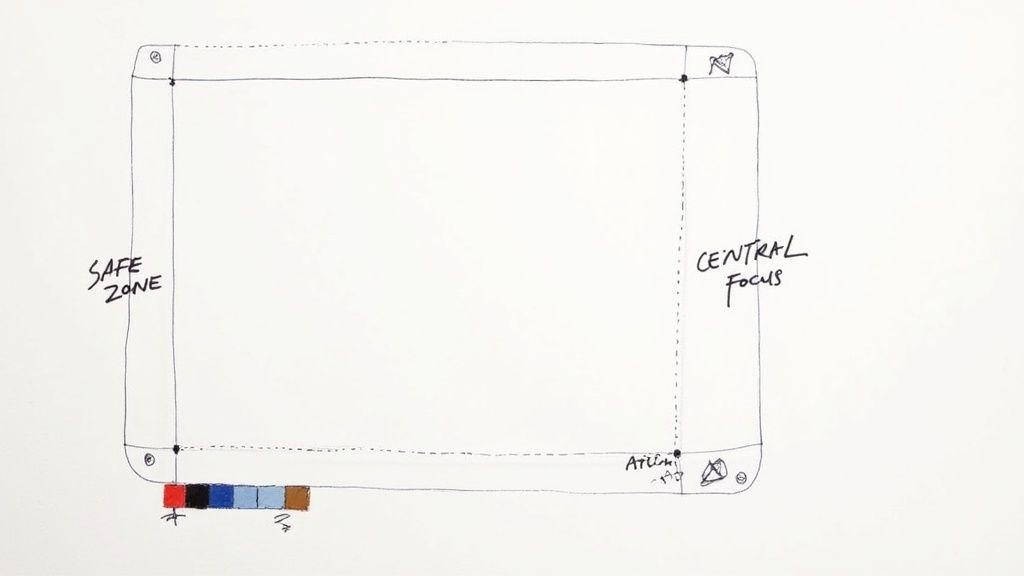
Think of it as telling a tiny, compelling story in that 3-to-8-second window. You don't need a whole plot, but your visual should set a distinct mood that perfectly matches the track's vibe. Also, don't forget that the Spotify player controls will cover the bottom of your video, so always keep the most important action in the center and upper parts of the screen.
Mastering the Art of the Loop
The loop is, without a doubt, the most important creative decision you'll make for your Canvas. How the video repeats can completely change its feel and impact.
Continuous Loop: This is your go-to for creating a seamless, almost hypnotic effect where the end flows right back into the beginning. It works incredibly well for ambient, electronic, or really atmospheric tracks.
Hard-Cut Loop: With a hard cut, the video just abruptly restarts. This creates a punchy, rhythmic effect that can feel almost jarring—in a good way. It’s perfect for high-energy genres like hip-hop or punk, where that sudden shift can emphasize the beat.
Rebound Loop (Boomerang): You’ve seen this everywhere for a reason. It plays your clip forward, then immediately reverses it. It’s a super simple but effective way to create endless motion and is versatile enough to work with almost any genre.
Putting in the effort to make a solid Canvas really pays off. Artists who use them see up to a 20% jump in track shares and about a 10% longer average listening time. That kind of engagement is huge in an ecosystem where Spotify's payouts have now surpassed €34 billion.
One last piece of advice: as tempting as it might be, stay away from showing lyrics or lip-syncing in your Canvas. Because the loop isn't synced to the audio, it just ends up looking disconnected and unprofessional. Let the visuals do the talking on their own—it’ll even help your playlist performance. For more on that, check out our guide on Spotify playlist SEO.
How to Upload and Manage Your Canvas
Got your video file ready and confirmed it meets all the technical specs? Awesome. Now it’s time to upload it. The whole process is handled right inside your Spotify for Artists account, which is great because it gives you direct control over your track’s visual vibe.
The workflow itself is pretty painless. Spotify designed it to get your Canvas live without a bunch of unnecessary steps. You basically just find your music, pick the track, and upload your final MP4 file.
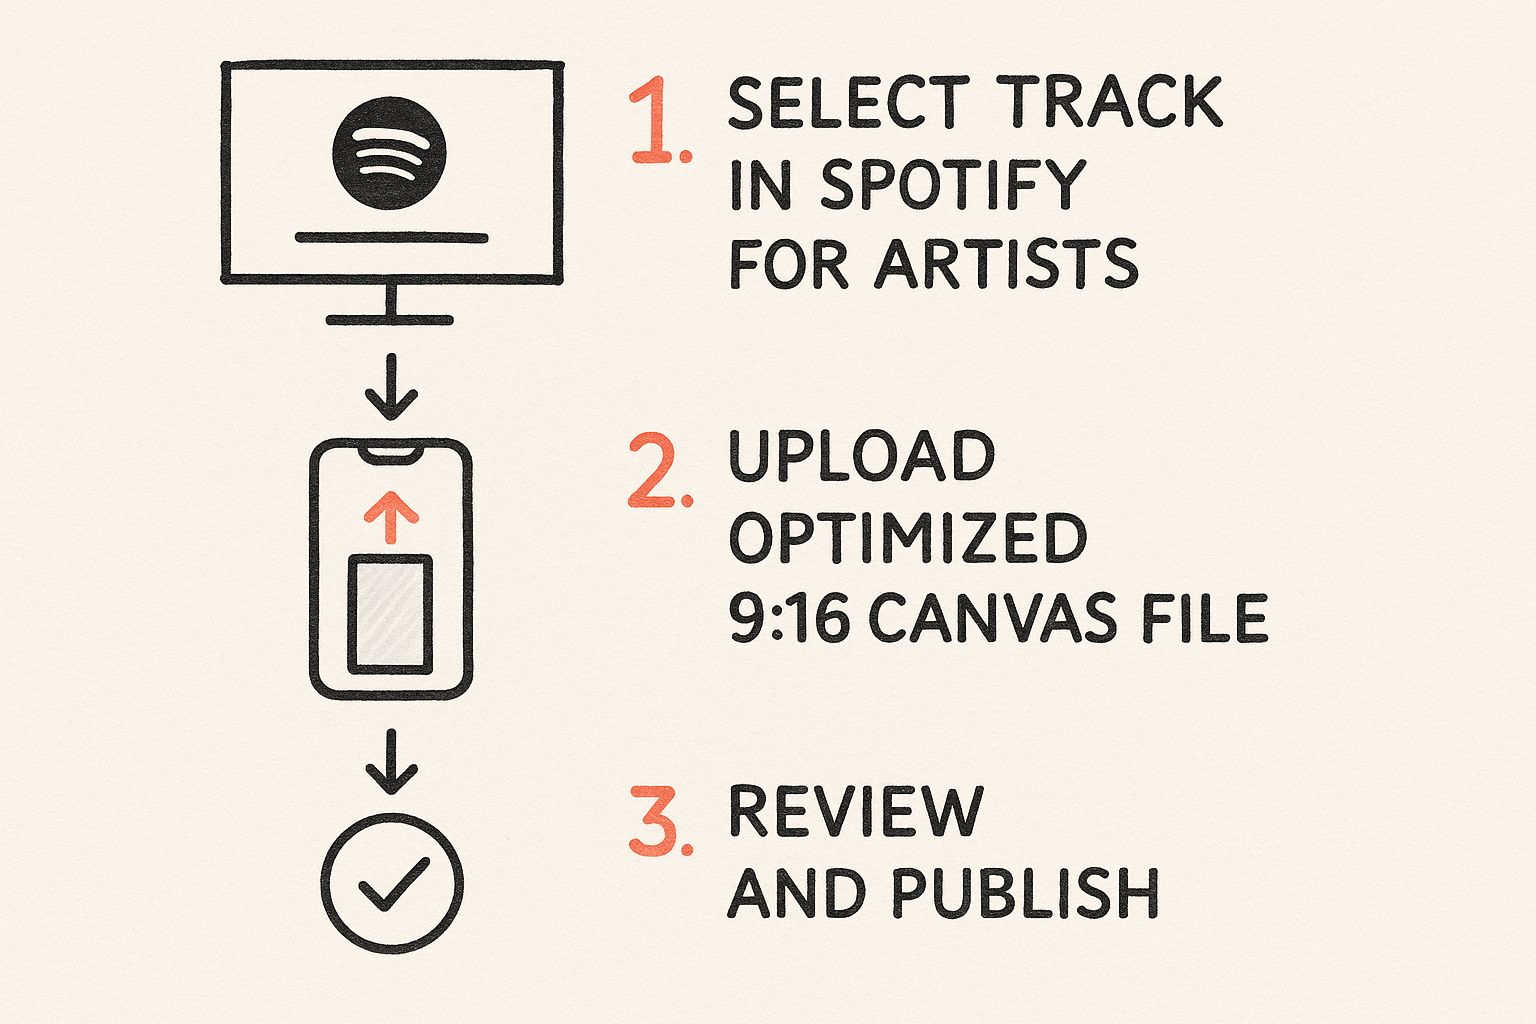
This handy infographic lays out the simple, three-step journey to getting your Canvas published.

As you can see, it really is as simple as selecting your track, uploading the video, and hitting publish after a quick review. This keeps things efficient, so you can swap out visuals whenever you feel like it.
Step-by-Step Upload Guide
Once you're logged into your Spotify for Artists dashboard, you’re just a few clicks away.
Navigate to Your Music: Head over to the "Music" tab in your dashboard.
Select a Track: Find the specific song you want to add a Canvas to and click on it.
Add Canvas: You’ll see a button that says "ADD CANVAS." Click that and upload your MP4 file.
Trim Your Video: A simple trimming tool will pop up, letting you pick the perfect 3-to-8-second clip.
Review and Post: Give it one last look, agree to the terms, and post your Canvas.
After you hit post, your Canvas goes into a quick review queue. Don't worry, this usually only takes a couple of hours. Once it's approved, your new visual will start showing up for listeners on the mobile app.
And while you're focused on making your tracks look great, don't forget the next crucial step in getting heard. Figuring out how to submit music to Spotify playlists is just as important for maximizing your reach.
Making Your Canvas Work for a Global Audience
Spotify isn't just local; it's a global stage. To really connect with fans everywhere, your Canvas needs to have a universal appeal that goes beyond language or cultural lines. This is how you maximize your music's reach on the platform.
A simple but powerful trick for making a global impact is to skip the text. Think about it: your artist name and the song title are already right there in the Spotify player. Adding them again is not only redundant but can instantly put off listeners who don't speak the language. Instead, let the visuals do the talking. Focus on creating a mood that complements the emotional core of your music.
Designing for Universal Performance
Your Canvas has to load smoothly for everyone, whether they're in a city with lightning-fast internet or in a rural area with a spotty connection. This is exactly why the core Spotify Canvas specifications are so important.
Keep the File Size Small: A lightweight MP4 file means your Canvas loads up quickly without eating through someone's data plan. This ensures a seamless experience for every single listener.
Stick to Standard Resolution: The 720p minimum height requirement is there for a reason. It guarantees your visual looks sharp on most phones without needing a super-fast connection to stream properly.
These technical rules aren't just arbitrary; they're designed with global compatibility in mind. With Spotify's audience spread across more than 190 countries and listening for an average of 114 minutes a day, making sure your Canvas works flawlessly everywhere is non-negotiable. For more on Spotify's massive footprint, check out these Spotify user statistics and their global reach on notta.ai. When you start thinking like a global artist, you build a much stronger connection with listeners from every corner of the world.
Common Questions About Spotify Canvas
Even with a perfect roadmap for Spotify Canvas specifications, you're bound to have questions. It just comes with the territory. This section is designed to tackle the most common issues and uncertainties artists run into, giving you quick answers so you can get back to creating.
Why Was My Canvas Rejected?
Nine times out of ten, a rejected Canvas comes down to a simple technical or content rule violation. Before you try re-uploading, it's worth running through this quick checklist of the usual suspects:
Incorrect Length: The video has to be between 3 and 8 seconds. No more, no less. Even a single frame over or under will trigger a rejection.
Wrong Aspect Ratio: It’s gotta be a 9:16 vertical video. If you upload something square or horizontal, the system will kick it back automatically.
Prohibited Content: Spotify's content policy is pretty strict. Your Canvas was likely flagged for things like URLs, promotional text, logos, or super flashy visuals that could be jarring for viewers.
A quick double-check of the tech specs and content guidelines before you upload can save you a whole lot of frustration.
How Long Does It Take for a Canvas to Go Live?
Once you hit 'upload,' your Canvas doesn't go live instantly. It first has to pass a review to make sure it's following all the rules.
This part is usually pretty fast—often just a couple of hours. As soon as it's approved, your Canvas should pop up on the Spotify mobile app for your listeners within about an hour. You can always keep an eye on its status right in your Spotify for Artists account.
Does Canvas Affect My Song Royalties?
Adding a Canvas won't directly change your per-stream payout rate, but it can absolutely have a positive, indirect effect on your earnings. Think of it as a tool for engagement.
A killer Canvas gets people to share your track, save it to their library, and add it to their playlists. All of that activity leads to more overall streams, and more streams mean more money in your pocket. To really dig into the numbers, you can explore how to build real music income with a Spotify royalties calculator. At the end of the day, a great Canvas helps grow your audience, and a bigger audience leads to bigger revenue.
At artist.tools, we provide the data and insights you need to grow your career on Spotify. From bot detection to playlist analysis, our platform empowers you to make smarter decisions and connect with more listeners. Check out our full suite of tools at https://artist.tools.